> For the complete documentation index, see [llms.txt](https://docs.aisera.com/llms.txt). Markdown versions of documentation pages are available by appending `.md` to page URLs; this page is available as [Markdown](https://docs.aisera.com/aisera-platform/adding-data-to-your-tenant/integrations-and-data-sources/connectors/setting-up-amazonconnect-in-aisera.md).

# Setting Up AmazonConnect in Aisera

Add an existing AmazonConnect instance to an Aisera application/bot as a Live Agent.

### Prerequisites <a href="#dpyoivd1a3hp" id="dpyoivd1a3hp"></a>

1. You have a working AmazonConnect instance, and have set up flows and agents.
2. You have the information for your customer’s integration user account. This user account needs to have the correct permission and authorization to access the AmazonConnect instance.

   This account needs the following  **IAM permissions** that are required for a user to Integrate with an external AmazonConnect Instance.

```
{
	"Version": "2012-10-17",
	"Statement": [
		{
			"Effect": "Allow",
			"Action": [
				"s3:ListAllMyBuckets",
				"connect:StartChatContact",
				"s3:GetBucketLocation"
			],
			"Resource": "*"
		},
		{
			"Effect": "Allow",
			"Action": "s3:GetBucketAcl",
			"Resource": "arn:aws:s3:::amazon-connect-*"
		}
	]
}
```

You need to have the following credentials for this integration user.\
\
&#x20;   A. One of the following options for the AmazonConnect Instance:\
\
&#x20;            \- AWS Access Key\
&#x20;            \- AWS Access Key, Secret Key

&#x20;  B. The region, in which this AmazonConnect instance is running

&#x20;  C. Contact flow ID of the AmazonConnect instance

&#x20;  D. Instance ID of the AmazonConnect instance

### Setup instructions <a href="#bgbwoxm9l03k" id="bgbwoxm9l03k"></a>

1. Click **Settings > Integrations > + New Integration** in the Aisera Administration application (Admin UI) to create an integration for AmazonConnect.
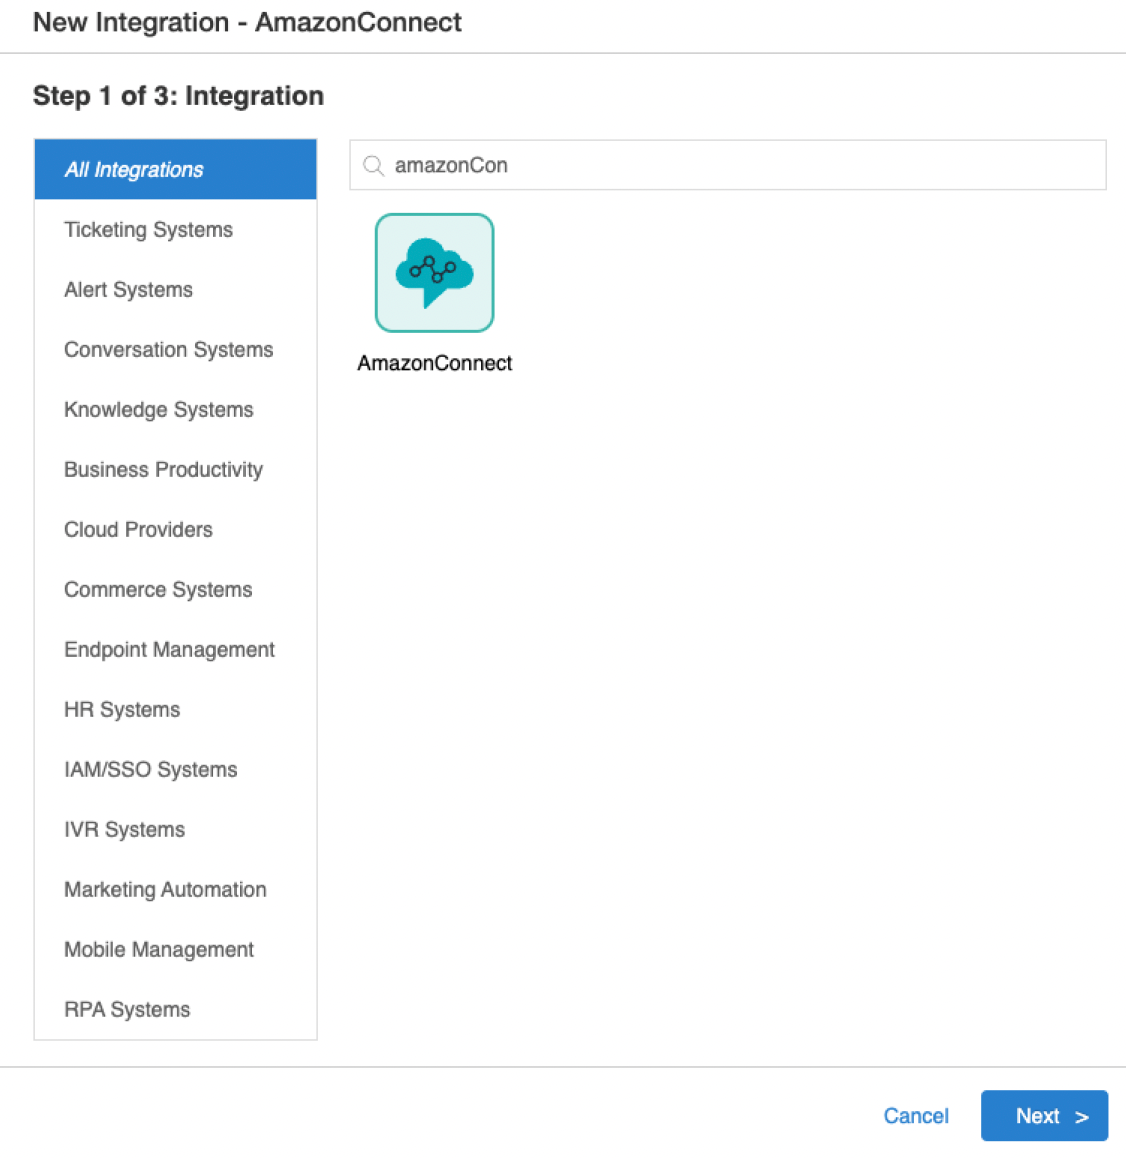
2. In the **New Integration** screen, search and select **AmazonConnect** as shown in the following figure:<br>

   <img src="/files/PMfNec92pY6tf40ZjB06" alt="New Integration" width="563">
3. Click **Next**.
4. Enter the authorization details for your integration.\
   The following table describes the parameters for the fields above.

<table data-header-hidden><thead><tr><th width="159"></th><th></th><th></th></tr></thead><tbody><tr><td><strong>Field</strong></td><td><strong>Description</strong></td><td><strong>Notes</strong></td></tr><tr><td>Name</td><td>The name of this integration</td><td></td></tr><tr><td>Endpoint</td><td>The URL for your AWS Connect instance</td><td></td></tr><tr><td>Username</td><td>The username for the account that has access to AmazonConnect</td><td><p>If this integration is being used for a Live Agent connection, an actual name is not required. Enter a random string (such as aaa).</p><p>If this integration is also used for user-specific tasks, like user learning, then enter the actual username.</p></td></tr><tr><td>Password</td><td>The password for the account that has access to AmazonConnect </td><td><p>If this integration is being used for a Live Agent connection, an actual password is not required. Enter a random string (such as aaa).</p><p>If this integration is also used for user-specific tasks, like user learning, then enter the actual password.</p></td></tr><tr><td>Access Key</td><td>The AWS Access Key for the AmazonConnect instance, as described in the pre-requisites</td><td></td></tr><tr><td>Secret Key</td><td>The AWS Secret Key that provides access to the AmazonConnect instance, as described in the pre-requisites.</td><td></td></tr><tr><td>Region</td><td>The region where the AmazonConnect  instance is running, as described in the pre-requisites.</td><td></td></tr><tr><td>Session Name</td><td>The name of the instance session that you use to monitor the logs for AmazonConnect.</td><td></td></tr></tbody></table>

### Add the Live Agent to your Aisera App/Bot <a href="#bl7kfu4mz207" id="bl7kfu4mz207"></a>

Use the following procedure to add your Live Agent configuration to your Aisera application or bot.

1. Use the **Settings > AiseraGPT** command to see all of your Aisera applications/bots, and select the one to which you want to add a Live Agent.

   When you select and open your Aisera application/bot, you see the Details (summary) page for your application or bot.
2. Click **+Add Live Agent** if you don’t have an existing Live Agent attached to your application or bot.

   \- or -

   Click **Edit Live Agent** if you already have a live agent integration for your application or bot.
3. Select your AmazonConnect integration, to add this connection to your application or bot.
4. Add the configuration details for your AmazonConnect  instance.\
   The following table provides the parameter descriptions.

<table data-header-hidden><thead><tr><th width="208"></th><th></th></tr></thead><tbody><tr><td><strong>Field</strong></td><td><strong>Description</strong></td></tr><tr><td>Contact Flow ID</td><td>The AmazonConnect <strong>Contact Flow ID</strong>, as mentioned in the pre-requisites.</td></tr><tr><td>AWS Instance ID</td><td>The <strong>Instance ID</strong> mentioned in the pre-requisites.</td></tr><tr><td>Attachments</td><td>Leave this value as the default of Not Supported.</td></tr></tbody></table>

### Advanced features <a href="#c49urv1g0lb3" id="c49urv1g0lb3"></a>

The following advanced features are supported for AmazonConnect with the Aisera platform.

#### Add support for Multiple Queues (multiple AmazonConnect Flows) - Optional <a href="#bej3nrnhv4tu" id="bej3nrnhv4tu"></a>

In addition to the default contact id, discussed in the Setup steps above, the Aisera platform supports a Pre-process Live Agent Workflow, that enables you to configure multiple contact IDs that the application or bot can select based on the request made by a user.

**To use multiple contact flows:**

1. Click **AI Automation > AI Workflow Studio** in the Aisera Administration application (Admin UI).
2. Choose the **Preprocess Live Agent** workflow.
3. Open the workflow and add a new output variable called contactFlowId and specify that this field contains a String.

<div align="left"><figure><img src="/files/zOgAI9Bb9tv5waPvFlVj" alt="" width="500"><figcaption></figcaption></figure></div>

4. Add the logic of selecting a contactFlowId to the **Preprocess Live Agent** workflow, using the Workflow Studio canvas.

<div align="left"><figure><img src="/files/3j7v4hHRGXyA5IBzwRKO" alt="" width="372"><figcaption></figcaption></figure></div>

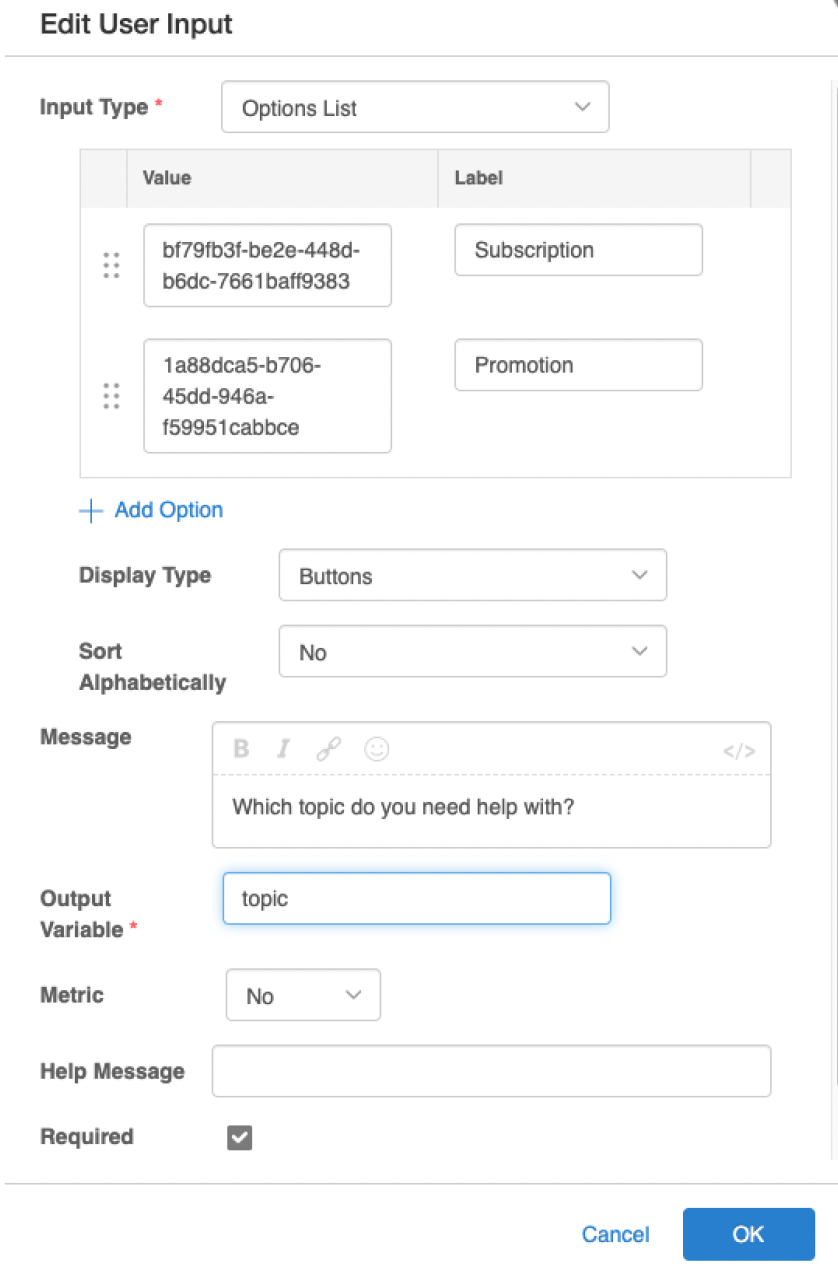
5. Edit the **User Input** for the new section of the Workflow.

<div align="left"><img src="/files/oTufFinyYFZjCylqAONS" alt="" width="563"></div>

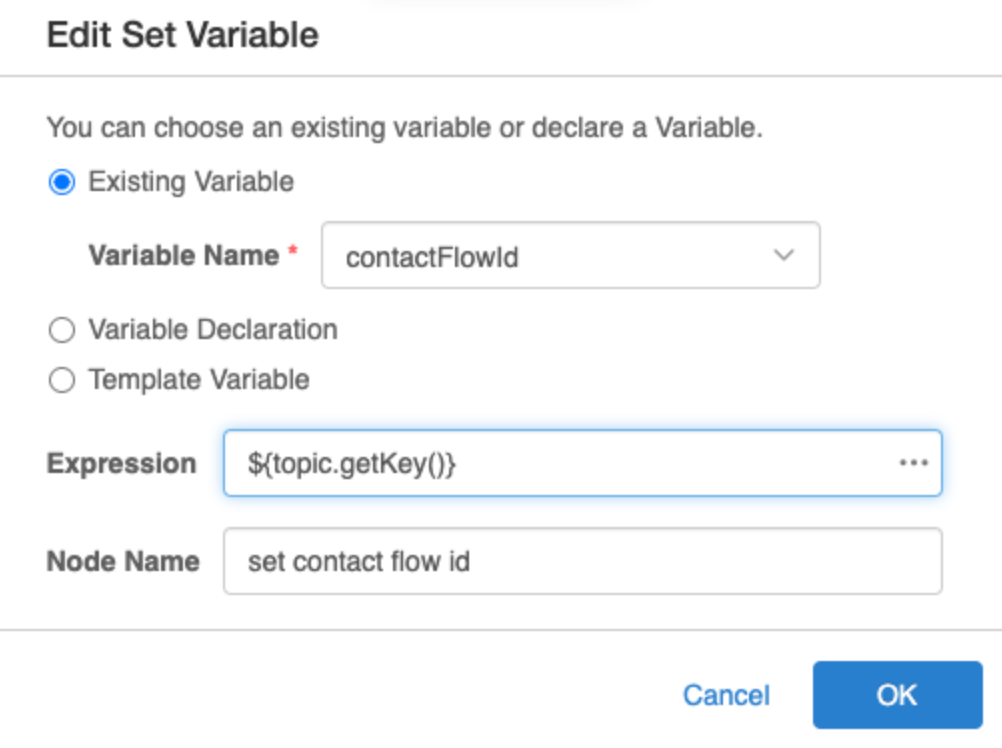
6. Set the **Output Variable** as shown below.

<div align="left"><img src="/files/dTl5BZiDZtjQLFI4eDfA" alt="" width="563"></div>